Tech Tip: Easy Guide on How to Stamp Leather
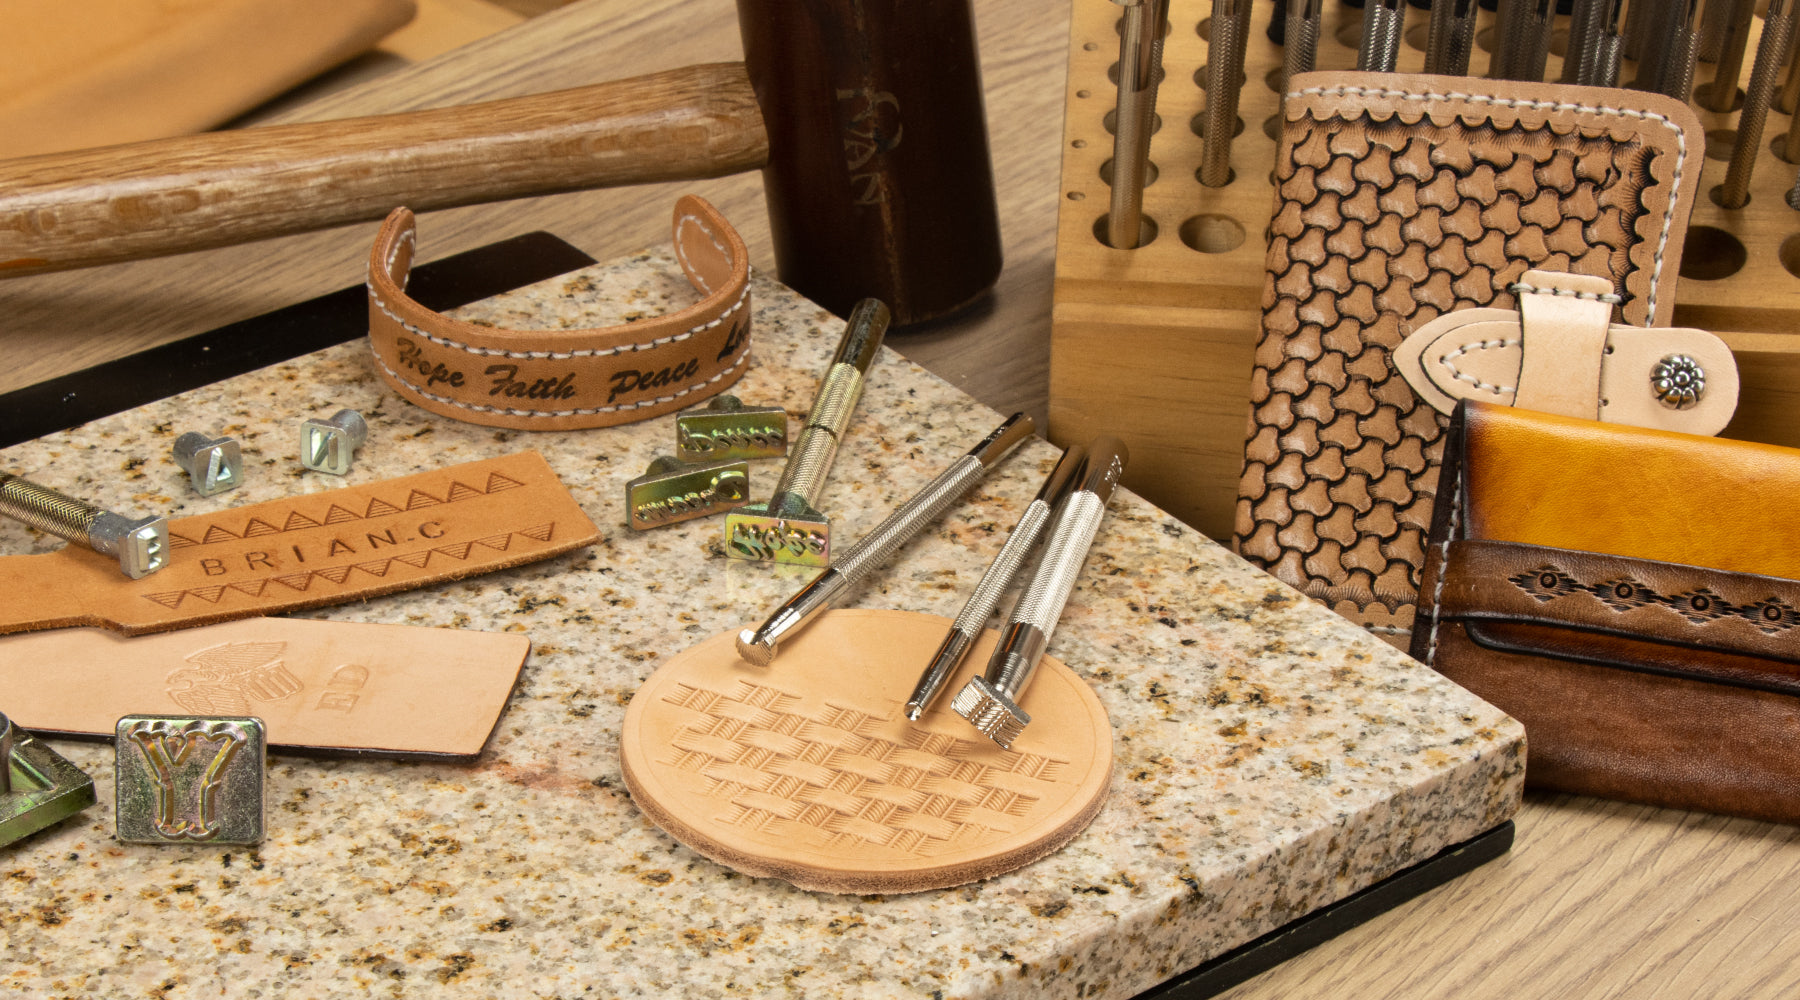
Stamping is simply using leather stamps that leaves three dimensional impression on veg tanned leather. Leather stamps can include patterns, numbers, letters and shapes in a range of sizes and styles. There is really no limit as to what you can do with stamping! Combination of these tools gives you unlimited design possibilities. You can stamp wallets, belts, backpacks straps or simply add delicate border stamps which will be gorgeous.

Choosing leather:
To get the best impression, we recommend 3.2mm~3.6mm (8-9oz) standard belt weight vegetable tanned leather. This weight is perfect for belts of all shapes and size. You can make holster, laptop bag, tots, bag strap with great durability. Our 91483 Natural Veg Single Shoulders are economical and smaller in size. The 8-9oz is perfect choice when you don't need a double shoulder or full side for stamping. For more leather options, visit Natural Veg-Tanned.
Tips for stamping:
- The trick to getting beautiful pattern is that your stamp needs to be consistent and crisp. Working on a piece of marble is a good solid base for stamping, giving you much sharper, clear and color impression.
- To get consistent impression while working with larger stamps, leaning your stamp side to side with controlled strike to get all the details.

Materials you need:
1. Natural veg tanned leather
2. Stamping tools
3. Marble slab
4. Mallet
5. Water and sponge
Stamping Steps:
1. Wet leather:
Wet entire piece of leather to avoid water marks if you are working with dye later on. Wait until the water gets absorbed. If the leather is too wet it's too mushy to work with; Too dry, you won't get the body in the stamp.

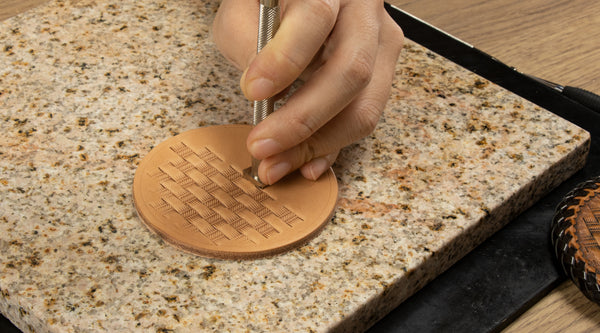
2. Striking the tool:
There are two ways to go here, one single strike or controlled strike with multiple hits so you can work your tool around to get all the details and consistent in every corner. If the impression is too light, you can also fit the stamp back in and hit again to get a deeper impression.
3. Get creative:
Play around with your tools and figure out what each one does and then just be creative when it comes ways to use and combine your stamp. Sometimes the name of the tool will give you an idea of what its general use is for.


For example, a shader would help you add shadow to a shape. However, that doesn't mean that's the only way to use it! Veiner stamps are great to add details in floral carving, but it also makes beautiful boarder on belts or straps. Basketweave stamp is great to cover a large area with realistic woven design, but can also give you intricate looking basketweave boarder.


We hope this article is helpful to get you started on leather stamping. Be sure to check out our other informative blogs and resources, as well as our selection of high quality stamping tools mentioned here.